Sunday, February 5, 2012

Toucans

These are a fruity and light-er chocolate confection. Like the name indicates, it is works well as a brightly coloured tropical white chocolate confection.


Formula: pg. 142
Yield: 125 keel-shaped molds, half recipe works well for individual use

Cocoa butter,                                                                               as needed
Fat soluble colours,                                                                       as needed
White chocolate, tempered, for lining molds,                                 as needed
Passion Fruit Ganache
15%              Heavy cream                                                             80 g
4%                Glucose syrup                                                            20 g
15%              Passion fruit purée                                                    160 g (80g reduced)
15%              White chocolate, pre-tempered*, chopped                  300 g
4%                Butter, soft                                                               20 g

White chocolate, melted, tempered at 30° C/86° F,                       as needed
*Store bought, and most commercially purchased chocolates are pre-tempered


MOP:
Buff the polycarbonate mold that you are going to use. This recipe makes approximately 125 keel-shaped molds but you can choose any shape mold. Buff molds with melted cocoa butter. Make sure that you really press the cocoa butter in, or your finished chocolates will have a little white blur set into the shell. Set molds upside down or covered in plastic so that dust does not stick to your molds. Buffing preps the molds and the cocoa butter increases the shine on the finished chocolates.
In back is the pumpkin
caramel ganache

Next make your filling. If you have two pots to use, this will speed up the process and keep both liquids hot. In one pot reduce passion fruit purée in half, to 80 g. In a separate pot, combine heavy cream and glucose in a saucepan, bring this to a boil. Pour both hot liquids over chopped white chocolate, let sit for 60 seconds to allow the chocolate to melt. Stir the mixture in small vigorous circles from the center out until it emulsifies. You will see one unified chocolate liquid texture like a tempered state, or ganache consistency, when emulsified. If necessary you can place the chocolate over a double boiler if the chocolate is not melting. Stir in the softened butter. Cover mixture to the surface, and allow mixture to set up and thicken slightly for approximately an hour.
Spray molds using melted cocoa butter and fat soluble colours. You should add enough melted cocoa butter to the powder colours to gain a thin, blood like consistency. Strain colours before spraying if it is too thick. You can use an airbrush for a very thin nice even covering, or you can brush or speckle the colour on with your brush for a more organic look. Clean the top of the mold off very well, scraping it off with your spackle.

Temper white chocolate. Pour tempered chocolate into mold, this is going to be for creating a hollow sides and top to the finished confection. Use your spackle to bang the sides of the mold, releasing air bubbles that might be caught in each cavity. Clean off excess chocolate from the top and repeat banging if needed. When all the air bubbles have been knocked out, let the chocolate set up at room temperature for 2-3 minutes. The length of resting time will depend on how warm the room is and how cold the tempered chocolate was. If the temper ran on the colder side it will set up faster, if the temper is out of temperature it will throw the ganache-chocolate ratio off. At 75° with little humidity, it should take 3 minutes to set up. 

Flip the mold over and let the chocolate drip out of the cavities. This will leave a thin, about 1 mm, lip around each cavity. Knock the side of the mold to help the excess chocolate drip out. Clean off the top of the mold while still upside down to aide in getting all the wet chocolate out of the shells. Keep the mold turned upside down, and place it in the refrigerator for 5 minutes to let the chocolate harden. 

Place the passion fruit ganache into a piping bag. Take out the mold, you can use a hair dryer to gently heat up the edges of the cavities to aide in creating a better seal. Pipe ganache 3/4 of the way up each cavity. Try to keep the top level, you can try to tap the molds after piping to soften the tips that might have occurred during piping. Fill the top of the molds with tempered chocolate, scrape very cleanly any excess chocolate. If you get bits of ganache popping out through the chocolate, let the chocolate set up and pour another layer of chocolate over the mold. 

Let the molds set up in a refrigerator for 20 minutes. Turn the finished chocolates out on a parchment lined sheet pan. Tapping gently to release the chocolates from the molds.

Tuesday, January 31, 2012

Hazelnut Latte

This formula is not very strong in the coffee taste, you can remedy that by steeping the coffee beans longer or using more beens for a stronger flavour.


Formula: pg. 131
Yield: Half batch, 90 pieces

Coffee Ganache
23%              Heavy cream                                                             90 g
2%                Dark roast coffee/espresso beans, coarsely ground   5 g
As needed,   Milk
8%                Glucose syrup                                                           30 g
6%                Coffee liqueur                                                           20 g
6%               Butter, very soft                                                         20 g
55%             Dark chocolate, melted, tempered at 32 C/90 F         200 g

Praline Ganache
20%              Heavy cream                                                              75 g
7%                Glucose syrup                                                            25 g
4%                Hazelnut liqueur                                                         15 g
3%                Cocoa butter, melted                                                  10 g
9%                Praline paste                                                               30 g
57%              White chocolate, melted, tempered at 30 C/86 F        210 g


MOP:
Start with praline ganache.
Mix glucose and heavy cream in a sauce pot, bring to a boil. When the mixture reaches a boil remove from heat and add in liqueur. Stir to incorporate and let cool to 105 F (slightly warm, above body temperature) on marble counter.
Mix, tempered white chocolate with melted cocoa butter and praline paste.
Stir in cream mixture to the white chocolate ganache. If the ganache breaks fix it with water to a homogeneous state, adding water will help the bind.
Pour ganache into a parchment lined 1/8th sheet pan, approximately 12"x 12"x 1/4" frame. Use an offset spatula to smooth out the ganache layer. Let set up until firm, it should be soft to your touch but your finger should not break the film. When this layer is set up, approximately 30 min-1 hour, you can start the coffee ganache.


Not enough cream to cover coffee
and bring out enough flavour
Mix the coffee ganache layer.
Ground coffee coarsely, using the bottom of the saucepan to break open the shells works perfectly, tie beans in a satchel of cheese cloth and steep with heavy cream in a small saucepan so that the liquid covers as much of the satchel as possible. Bring heavy cream to a simmer, remove from heat and let steep for 5 minutes. Strain coffee out of cheese cloth. Return the cream to its original weight by adding milk. Add glucose syrup to the mixture and bring to a boil. Remove cream from heat, add the coffee liqueur, and allow to cool to 40 C/105 F by setting aside on the cool marble work bench.


Temper chocolate, and add softened butter to the tempered chocolate. Mix in cream to form an emulsion by stirring the chocolate and cream mixture. Spread the mixture on top of the praline ganache, use an offset spatula to smooth out this layer, you want it to be as smooth as possible. Let the ganache to set, uncovered, at room temperature until firm, about an hour.

Precoat the layer with tempered dark chocolate. If the layer of praline is soft, then softly precoat this layer as well. Let the tempered dark chocolate set up at room temperature before cutting the ganache down to 1.5 cm x 3 cm. 

Temper chocolate for final coat with 5% cocoa butter. So for 1# of chocolate add 0.8 oz melted cocoa butter into the temper.

Final dip the confections, picking up the bottom tempered side with your dipping fork. Dip throughly in tempered chocolate and then tap the fork allowing the chocolate to fall off the truffle and getting rid of all air bubbles. Place confection on a silpat and move to make sure a foot is not created. 

Let set up, and then handle only with cool gloved hands when moving the finished truffle make sure the praline side remains on top when dipping.

Finish confections with appropriate sized and type toppings; hazelnuts, coffee beans, chocolate flakes, tempered chocolate piped lines, coated sheets, etc.

Apricot Butter Ganache and Piping and Dipping Truffles

This formula, and most of our formulas are from a book called "Chocolates and Confections: formula, theory, and technique for the artisan confectioner" by Peter Greweling. And although the batch sizes are large in this book, they do tell you approximately how many confections are made from each batch so you can always adjust according to your wants.


Formula: pg. 163
Yield: 150 pieces
22%   Butter, soft (30 C/86 F)                                  160 g
11%   Apricot jam **                                                80 g
61%   Milk chocolate, melted, tempered at 86 F       430 g
6%    Apricot brandy                                                 40 g
         Chocolate, tempered, for precoating
         Chocolate, tempered and thinned with cocoa butter, for dipping
         Apricot jam or dried apricots for finishing*

*Can use different variations for finishings, but a good idea to finish chocolates with is to finish the confection giving a little clue as to what is inside.
** Apricot jam can be substituted for another seedless and smooth jam.
Softened butter


MOP:
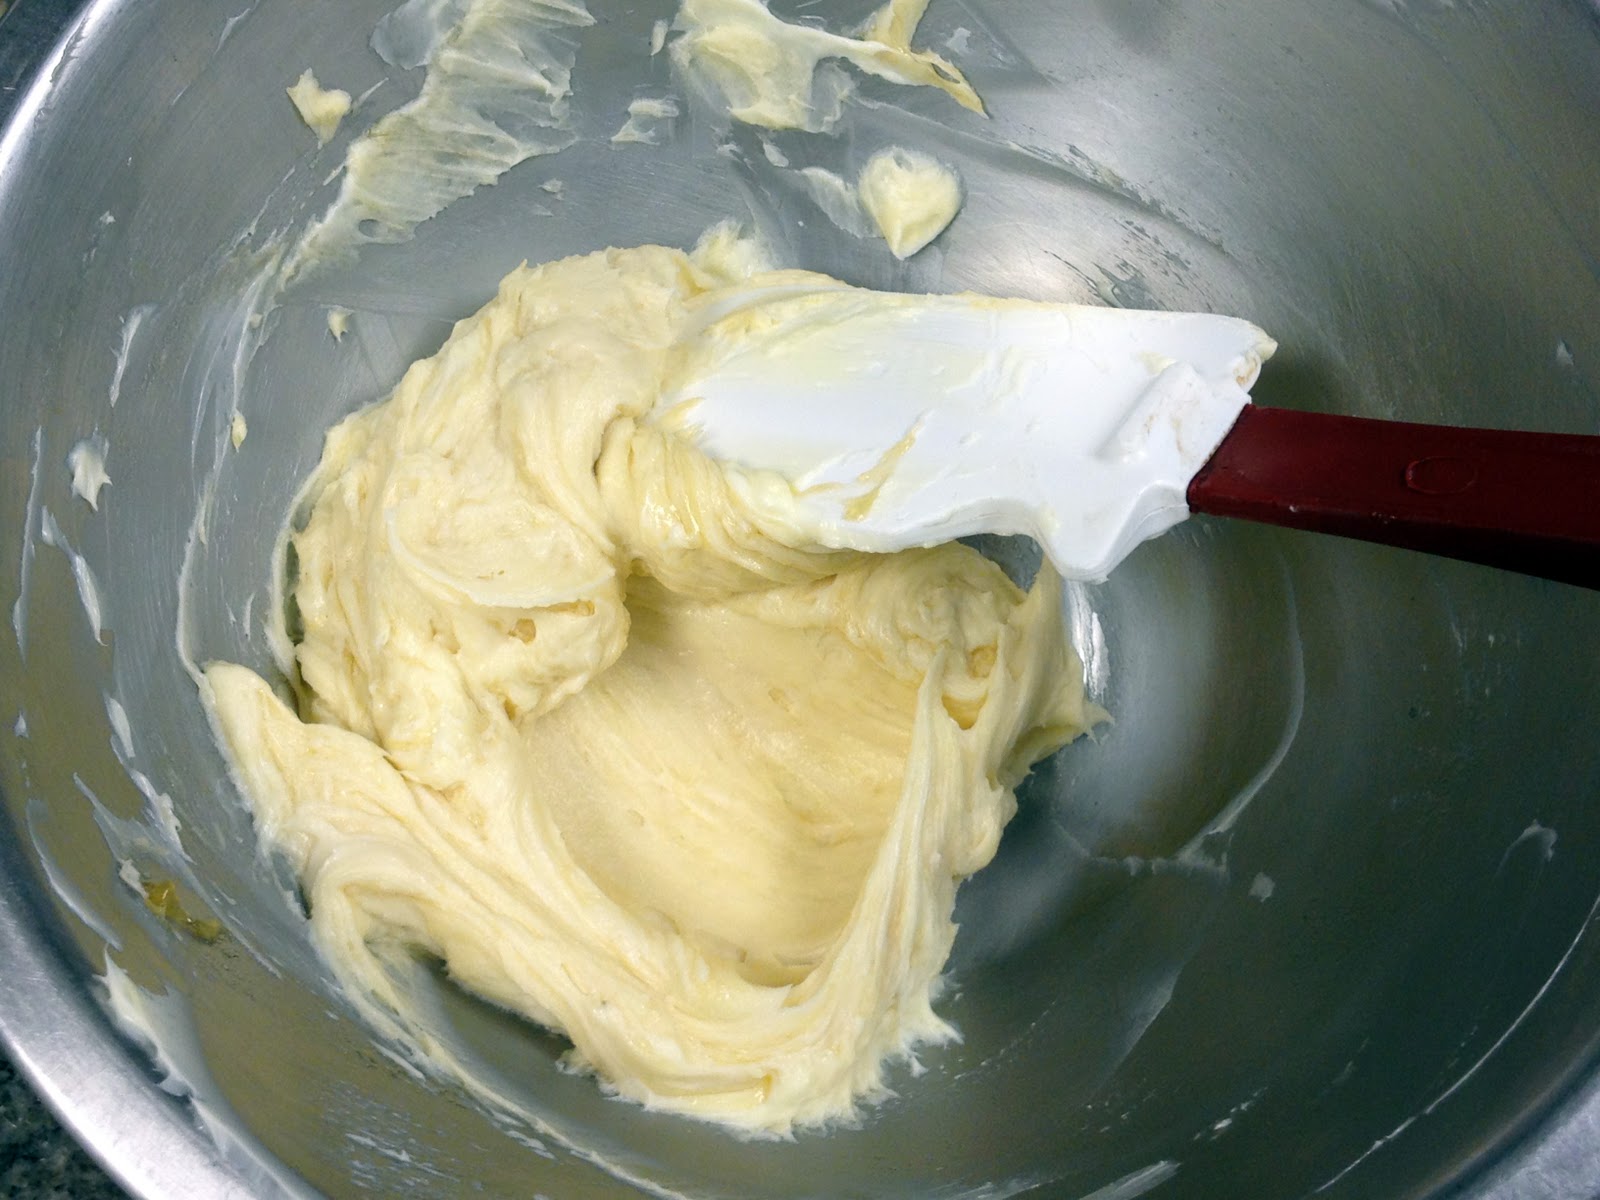
Melt the butter to a mayonnaise consistency. Do not over melt! And jam and mix until well combined.
Butter with apricot jam and brandy
Stream, tempered milk chocolate into the butter mixture, taking care not to allow chunks of chocolate. Stream in the brandy, stirring until the mixture is homogeneous.
Let the ganache set up, should be about the consistency of peanut butter. Pipe the ganache onto parchment paper in desired forms. Allow to crystallize until firm enough to handle it, should have a firm shell and be able to be handled by bare or gloved hands.


Piping can be done in a variety of forms common shapes are rounds, rafts, logs, and pyramids.

Rounds: use a 806 round tip, hold tip 1" from the paper and pipe an approximate 1" thick ball. When the rounds set, re-round the balls by hand. Let the rounds set again before pre dipping the rounds in tempered chocolate; place a little bit of tempered chocolate onto one palm and roll the round generously.
Logs: use a 806 tip, pipe a thick log/line the size of the tip down a sheet of parchment. When the chocolate has set, use a knife to cut the strip down to 3 cm (1 1/8") logs. It should resemble the size of a bit sized Tottsie Roll. Let the logs set again before pre dipping the rounds in tempered chocolate; place a little bit of tempered chocolate onto one palm and roll the round generously like with the rounds.
Piped rounds, before shaping
Rafts: Use a 802 tip (#10 mini tip), pipe three side by side logs/lines down the sheet pan. When the chocolate has set, use a knife to cut the strip down to 3 cm (1 1/8") logs. Let the logs set again before pre dipping the rounds in tempered chocolate only the bottoms need to be dipped; place a little bit of tempered chocolate onto one palm and coat the bottom of the raft to strengthen the logs. Let tempered chocolate set before final dipping.
Pyramids: Use a 802 tip (#10 mini tip), pipe three side by side logs/lines down the sheet pan, pipe two lines on top, and then one to top off the pyramid form. When the chocolate has set, use a knife to cut the strip down to 2.5 cm logs. Let the logs set again before pre dipping the rounds in tempered chocolate, this shape does not need to be pre dipped because the structure is sound but it might help in final dipping.


Rafts
Temper chocolate for final coat with 5% cocoa butter. So for 1# of chocolate add 0.8 oz melted cocoa butter into the temper.
Final dip the confections, picking up the bottom tempered side with your dipping fork. Dip throughly in tempered chocolate and then tap the fork allowing the chocolate to fall off the truffle and getting rid of all air bubbles. Place confection on a silpat and move to make sure a foot is not created. 

Let set up, and then handle only with cool gloved hands when moving the finished truffle.


Top: Finished Pyramids
Center: Finished Logs
Bottom: Rounds rolled in cocoa powder
Assorted finished rounds, center


Chocolate Bark

I dont think that this is an official name for the product, or that there is an official name for this product. But it is a very organic looking chocolate confection that can really be quite versatile.


MOP:
Line a half or quarter sheet pan with parchment (you can also line it with plastic for easier removal if you want).
Pour tempered chocolate into the pan, about 1/5th of the way up.
Tap the tray to get all air bubbles out of the chocolate, if the layer is not even and smooth on the top use a off set palate knife to smooth out the top.
Sprinkle desired topping evenly along the top, remembering that a little goes a long way. In the picture to the right I chose to use cocoa nibs (bitter flavour), tart cherries, and toasted almonds to offset the sweetness of milk chocolate.
Let the chocolate set at room temperature. When the chocolate is firm but not completely set, slice the chocolate and clean the edges. This will make slicing and removing cleaner when the chocolate has completely set.
Remove from pan with gloved hands, gloved hands protect the chocolate from the heat of your fingertips, especially if your hands run hot.

Variations: you can put the topping in the chocolate, or as a layer before you pour the chocolate. This method is very adaptive to any kind of exploration that you want to make.


This bark is made with 70% chocolate, sea salt, pistachios,  tart cherries, and  cocoa nibs

Sunday, January 29, 2012

Trois Frere

This confection is also as easy to make as the Mendients. This literally translates to three brothers, and when assembled resembles three fat monks on top of a chocolate disk.

MOP:
Pipe a dime sized disk onto a silpat, try to make this a little higher then for the Mendients.
Knock the silpat to flatten out the disks, the disk should grow to be quarter sized.
Place three toasted hazelnuts on top of the disk, pointy side up. Try to select like sized hazelnuts.

These look really quite nice dipped in chocolate. If you are going to add lines across the top, pipe them finer then I did for a more professional look.


Mendients

Mendients are a really simple, delicious, and fun way to introduce yourself to the world of confections. They are  tiny chocolate confections that essentially are a small quarter sized disk with nuts and dried or candied fruits placed in a random but eye pleasing way.

MOP:
Pipe a dime sized disk of tempered chocolate onto a silpat.
Knock the silpat on your table top to flatten the disk, this also will increase the size to a quarter size.
Place fruits and nuts on top of the disk.

Variations can include using two different chocolate, using spices, and dipping it in chocolate. Below are a lot of different representations of how I decided to play with this size using the ingredients that I had. Ingredients included in the pictures are: pistachios, toasted hazelnuts, toasted almond slivers, tart dried cherries, figs, golden raisins, dried apricots, paprika, sea salt, cocoa nibs, and pralines.


I only half heartedly apologize for having some fun with these pictures in photoshop.

Tempering Chocolate

There are several ways that you can temper chocolate. There is the seeding method, where you take your chocolate to the indicated heating point (this can usually be found on the packaging) and then cool it to a tempering state by adding cooled chocolate and stirring it until it has melted. The link above shows you how to do this method, unfortunately I did not take pictures when we did it in my dessert plating or dessert production class.

Another method is called the tabling method. This one is just a little more difficult to do at home unless you have a nice large marble table, but is well worth it I think because it seems to keep your chocolate in temper for a slightly longer period. First lets talk a little bit about tempering chocolate though, because once you get these few facts down then the tempering process is basically the same for each kind of chocolate that you are tempering.

64% Extra Bitter Chocolate - Guayaquil from the Barry Callebaut Company
This chocolate has 40.5% cocoa butter in it, and the amount of cocoa butter is indicated on the box. What is also indicated on the box is the temperature you have to melt the chocolate to so that the crystals fully melt, in this step it should be noted that if you heat the chocolate above the temperature you run the risk of sugar bloom or fat bloom which essentially means that the crystals have been damaged and you have compromised the shine of your chocolates. The box should also tell you what temperature you have to cool the chocolate to for tempering, and then the range for tempering.

MOP:
For Dark Chocolate the temperature you want to heat the chocolate to is 113°-122° F, if you heat the chocolate higher then this the shine can be compromised when set. Pre-boil the water and then cut heat once the water is boiling. Heat the chocolate over a double boiler, because water is the enemy of setting chocolate a good idea is to use two bowls over your pot with water. Between the bottom pot and the top pot line several layers of paper towels and then a side towel or two. This gives you a barrier between the heat and the chocolate to avoid for hot spots, the towels are so you can easily wipe off the bottom of the bowls to avoid water getting anywhere on your work bench. When the bowl of chocolate has reached 113° F remove this bowl from double broiler and use the bowl with the towels as a lid to trap the heat and steam.


Pour a third of the heated chocolate out onto the marble table. Use your spackle or off-set spatula to move the chocolate around. This process is quickly cooling down the chocolate, cool it to 81°F, or until it feel thicker and you can start to see ripples or waves in the chocolate. Return to bowl with heated chocolate. This heating up step you can do on the table, unless its not getting to 88° but dont rush it or you will not get the chocolate to temper! Use your spatula to mash (dont stir) the cooled chocolate into the hot chocolate. Stirring too much will incorporate air into the chocolate. But you want to continue to agitate/mash the chocolate to prevent streaks from forming in your tempered chocolate. When your chocolate is in the 88°-90° range it is tempered, put a little bit on a piece of parchment and let it dry to make
This is not tempered correctly, you
can see thin grey streaks

sure you are in temper. You will see a shiny coat without any streaks if you have done this properly.

Temperature levels for Milk Chocolate and White Chocolate are the same, the method of tempering is the same as Dark Chocolate.